My personal kitchen island is really a project that I've wanted to have finished for some time and I could finally cross that off my to-do list.
My island before was pretty basic, though it did have beadboard wrapped around it. Nonetheless it was nothin special, kinda builder boring just.
I needed to customize the island with the addition of some molding plus some posts. Lucky for me personally I acquired some posts free of charge in order that saved me several bucks, plus they were an ideal size :)
before…

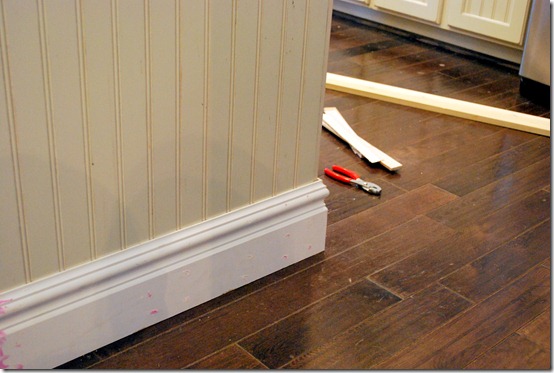
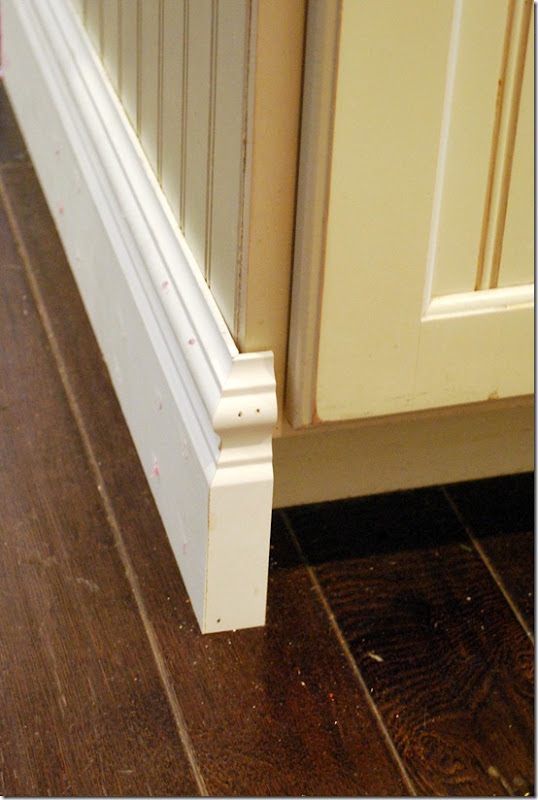
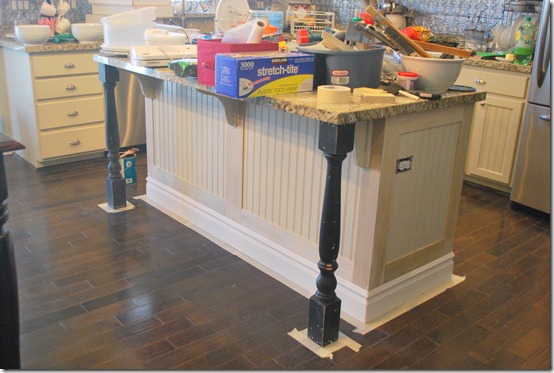
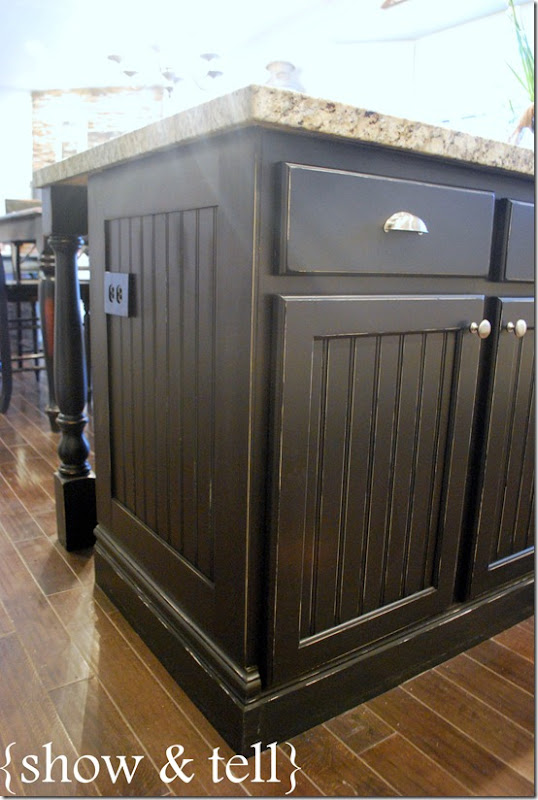
I began with the addition of some base-board molding round the whole Kitchen island. I had to pop off the corner trim placed on by the builder.
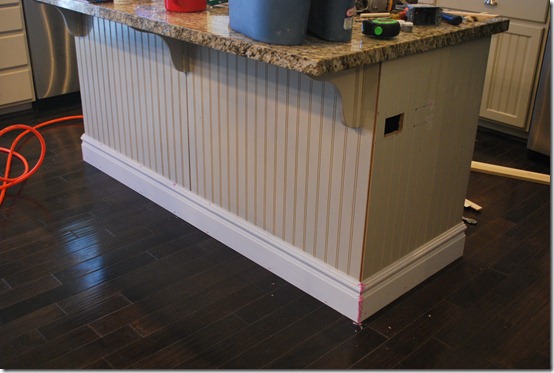
The trunk side of the island used to really have the toe kick, but I needed it to check custom and much more like a furniture piece. So to obtain the base-board trim to wrap around, I had to utilize the table saw to take off about an inch so that it wouldn’t hit the cabinet doors.

Next, I took some pre-cut poplar strips from lowes in 3 1/2 in widths and framed out the sides and back. Santi also had to go on the outlet so that it wouldn’t block the way of the molding, while he was at it, we swapped it out for a black outlet and black cover.
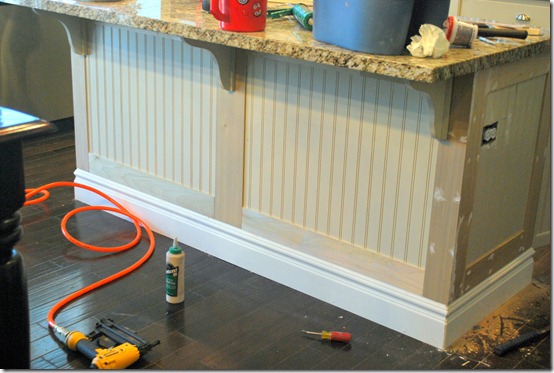
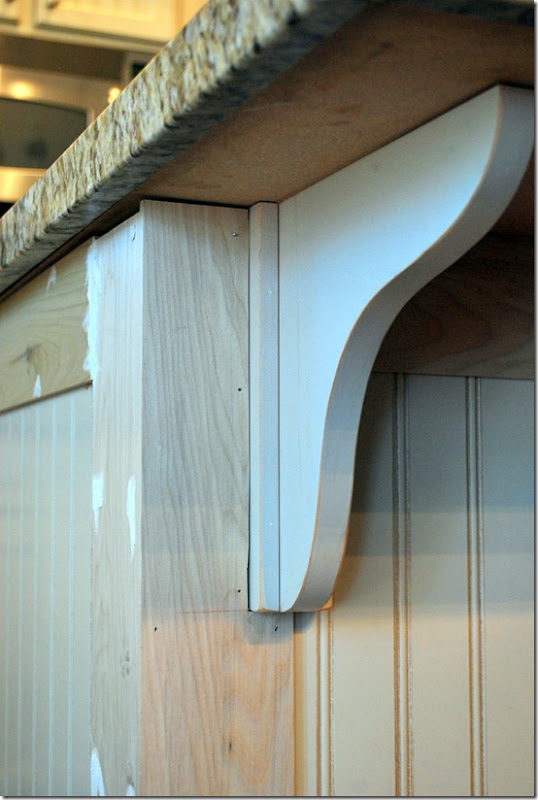
Where the corbels were, I simply used the jigsaw and cut those to fit
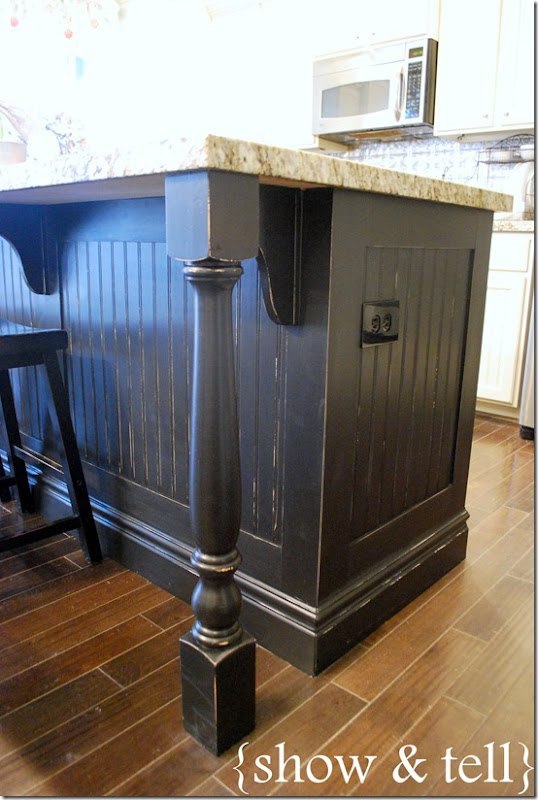
After that I put the posts about. I simply utilized some water toenail on the best and bottom part of each article therefore they arent heading anyplace. I furthermore nailed them to the solid wood ground and to the solid wood that will be under the stone. I believed about including some cut around the foundation of the articles, im nevertheless undecided on that…
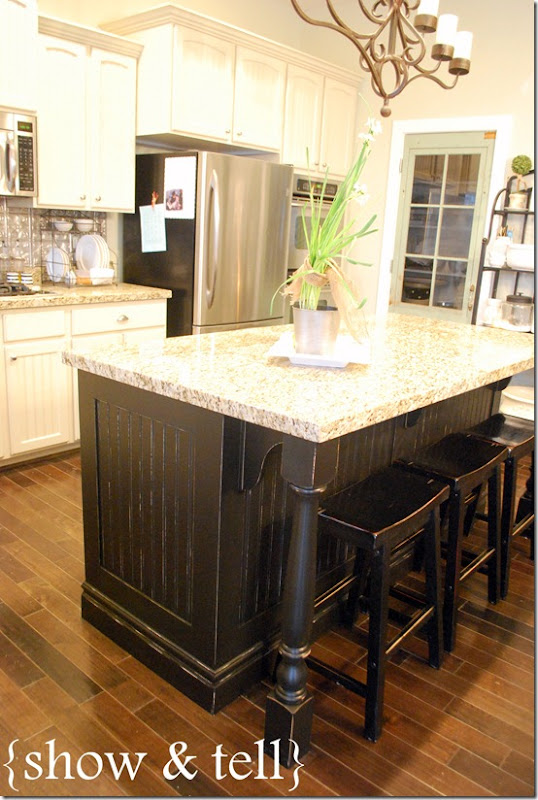
After all that was done, we sanded down the hinged doorways and used my color sprayer to color those. The sleep of the isle was colored just making use of a great brush and SW All Purpose Teeth enamel in Tri-Corn dark in a satin finish. The color proceeded to go on amazing, and you can barely observe any brush scars. I didn’t primary the isle itself, simply lighting sanded it and washed it nicely. The doorways had been primed with an adhesion primer from Sherwin Williams, simply because they will obtain a great deal of make use of. And if you go through my final paragraph you will understand why I made the decision not really to obvious coating it at this period…
And after…

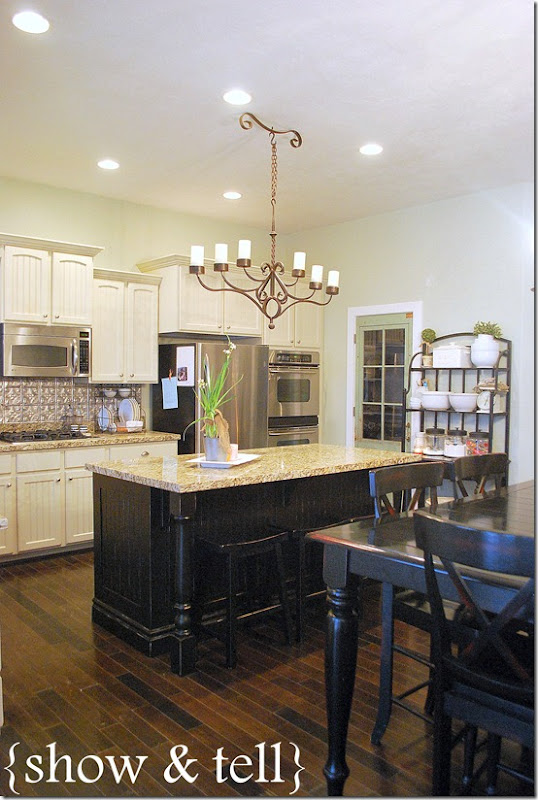
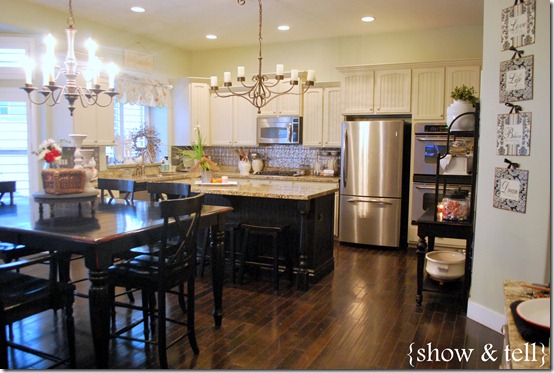
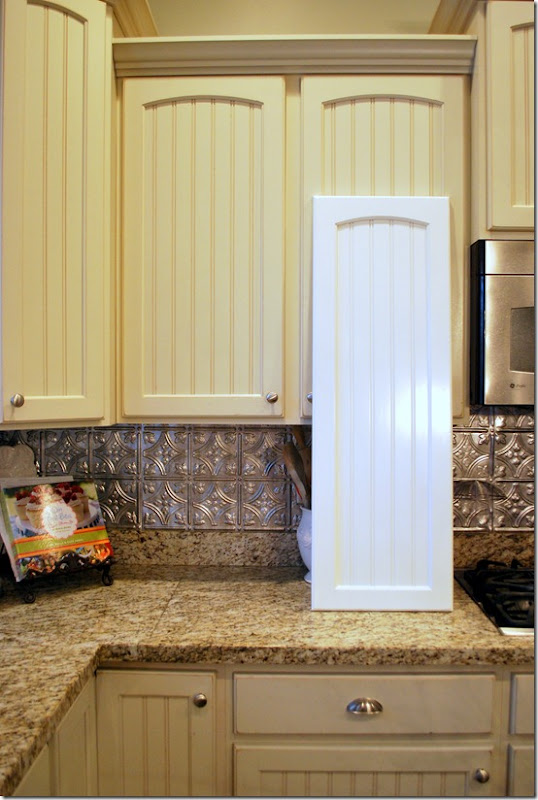
Therefore, that has been my 1scapital t task of 2012! Its one of numerous that I want to obtain carried out - the listing is very long! And, I possess never loved the darker lotion of my cupboards, they appear lighter in pictures than they actually are. So quickly I will become artwork my cupboards a lighter lotion, cant wait around for that! You can observe in the pic below how very much lighter they will become with this test cupboard I colored.
Thus - We like the method the isle turned out there, the molding appears awesome and modifications it from contractor boring to custom made - BUT, We don’t know if We are loving the dark!! IT kinda appears weighty to me and I actually would like a lighter sense to my home. SO - should I color it the lighter lotion of the sleep of my cupboards when those obtain carried out? I cant decide!! I believe I will reside with it for a while and observe - I perform appear to switch my thoughts about a great deal of points from 7 days to 7 days!!